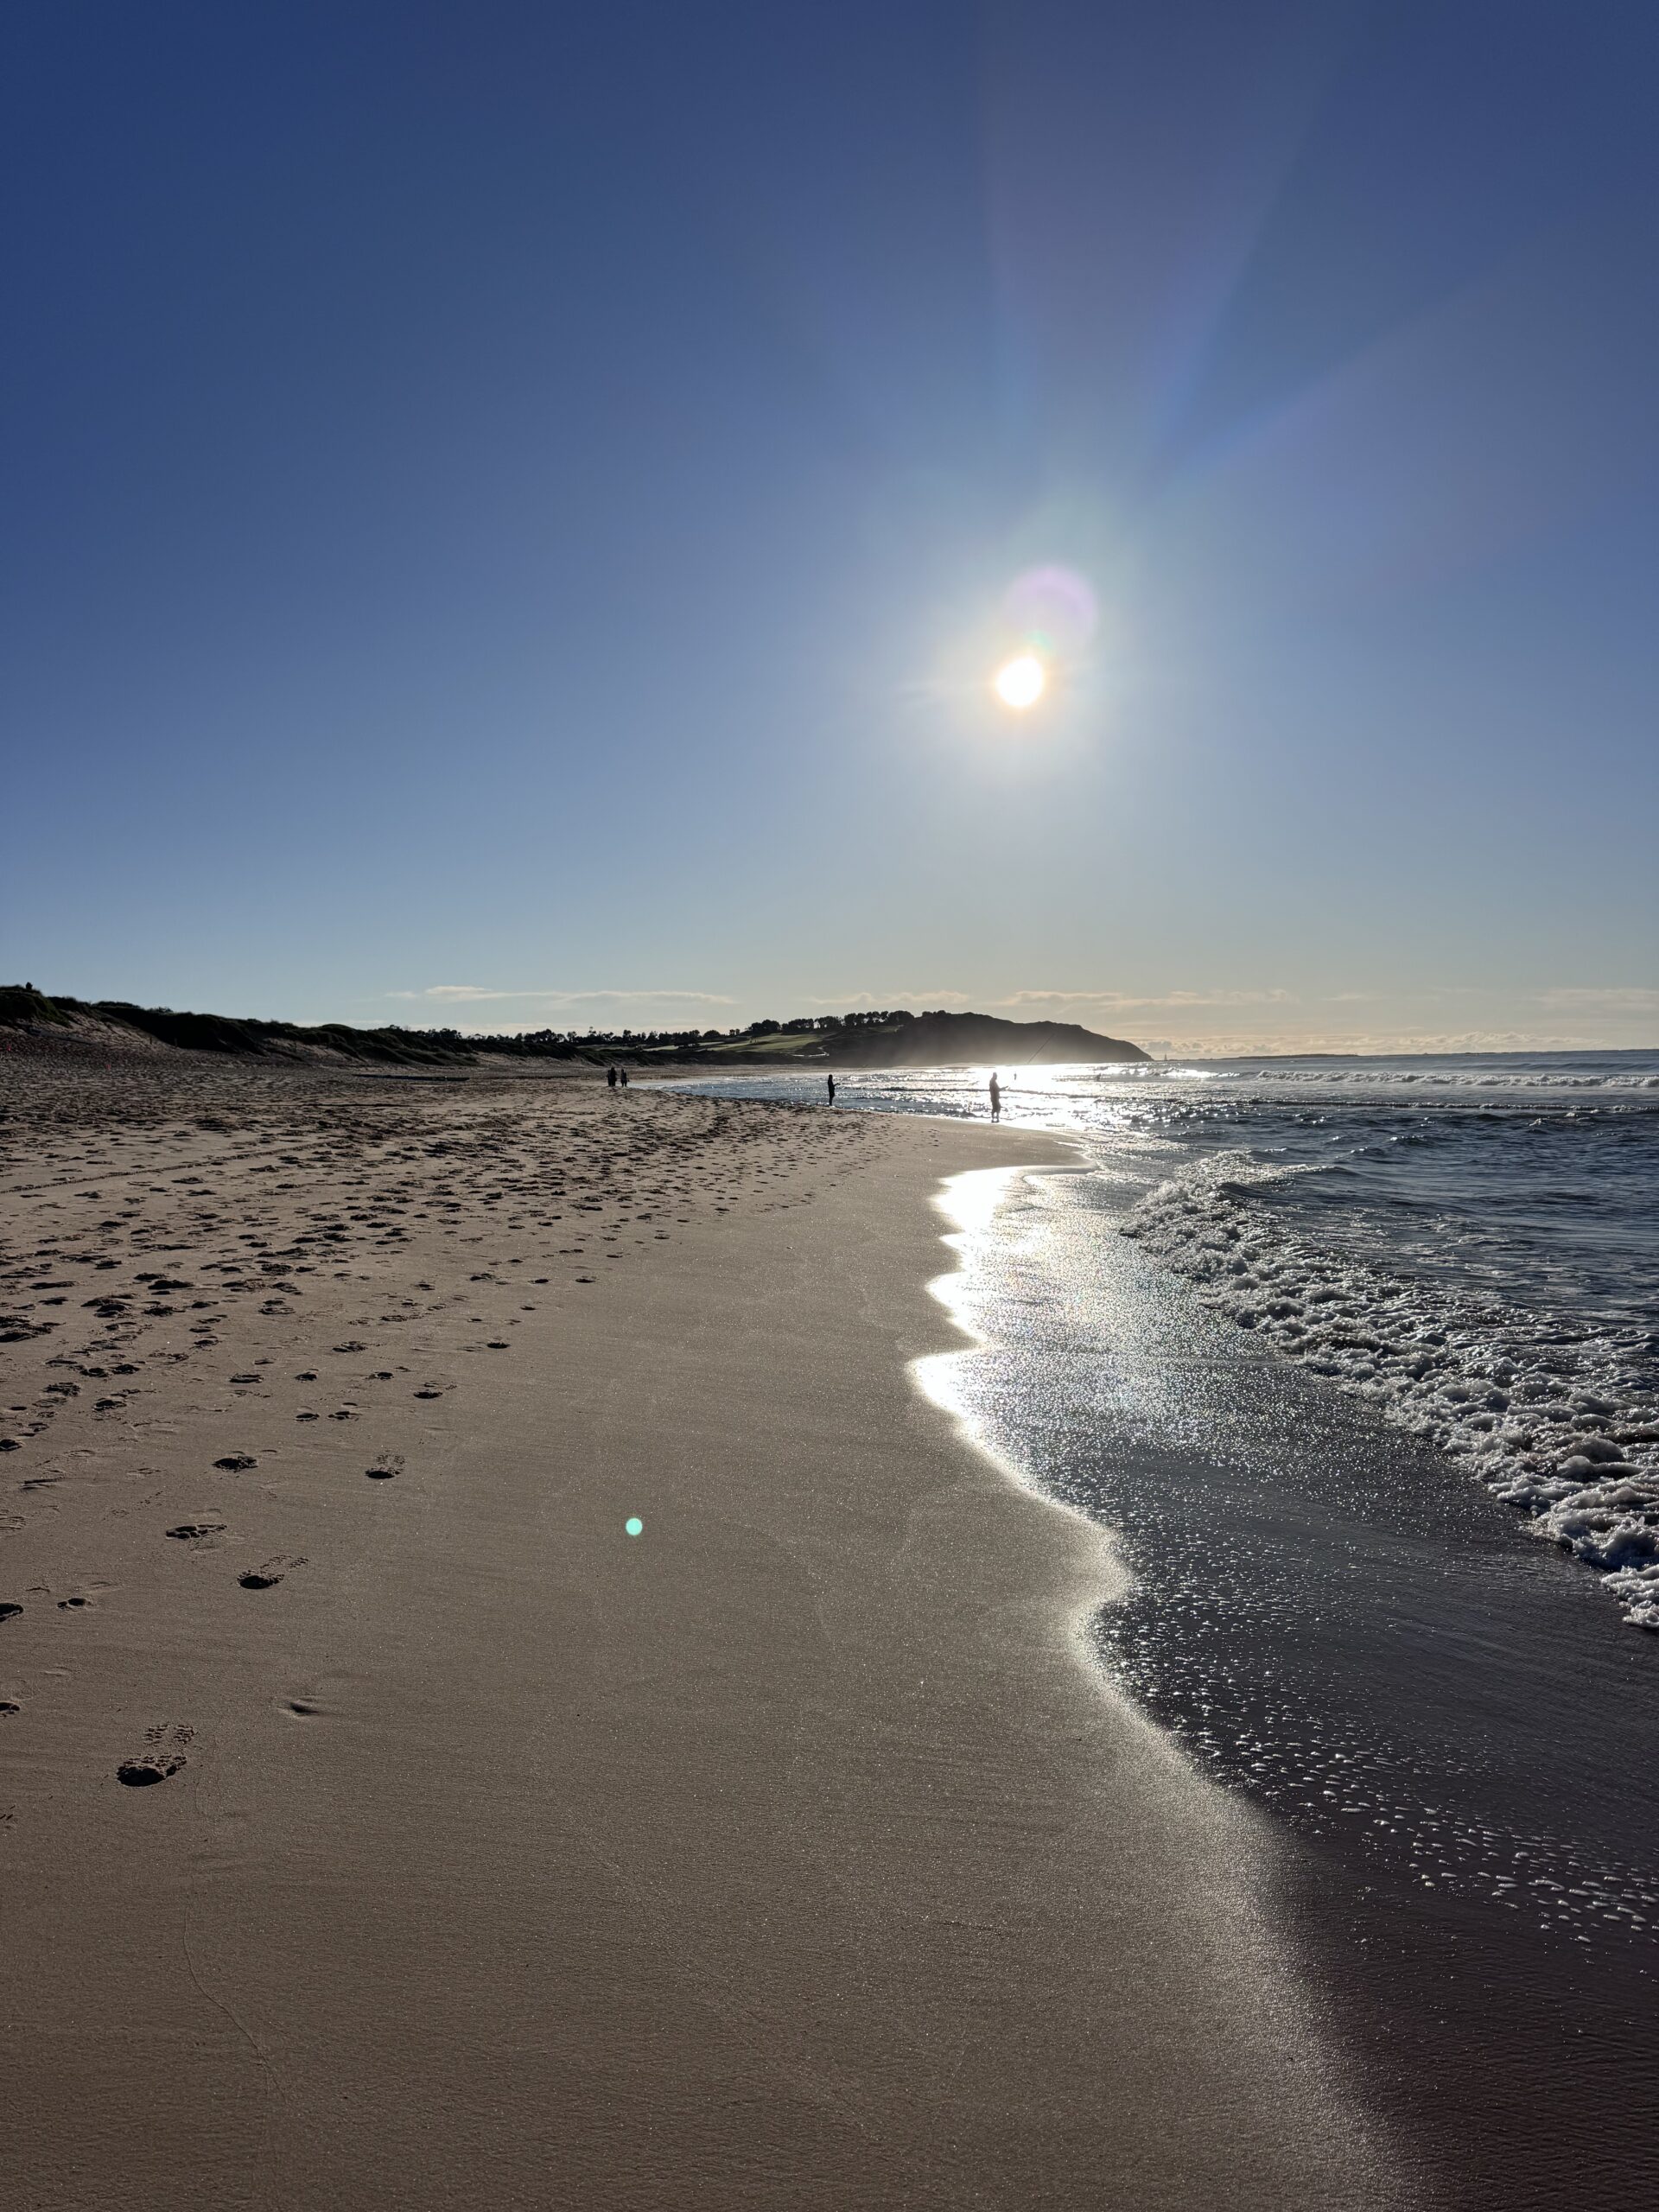
You don’t need a $3,000 rig to make images that stop people mid-scroll. In fact, bridge cameras are quietly roaring back, giving budget-conscious photographers serious reach, control and creativity for a fraction of flagship smartphone prices. If you’re weighing up a new phone “for the camera”, press pause. This guide shows how a well-chosen bridge camera can stretch your dollar further, unlock shots your phone can’t touch, and help you enjoy more of Australia’s coast without blowing your travel fund.
Why bridge cameras are back (and brilliant on a budget)
Bridge cameras sit between compact point-and-shoots and interchangeable-lens systems. They pair a fixed superzoom lens with manual controls, a viewfinder and a comfortable grip. Crucially, they’re affordable. You can land a capable model for $400–$900 AUD, whereas a premium phone is often $1,300–$2,100. Moreover, bridge cameras bring long optical zoom, tactile dials and dependable battery life—three things that make them underrated, especially for coastal and travel shooters.
Bridge cameras vs smartphones: a quick value snapshot
- Upfront cost: Bridge: $400–$900. Flagship phone “for the camera”: $1,300–$2,100.
- Optical zoom: Bridge: 24–1200mm (35mm equiv) common. Phone: mostly 24–120mm with digital crop past that.
- Battery life: Bridge: 300–600 shots per charge; swap a $40–$80 spare. Phone: shared with maps, calls, socials—often flat by sunset.
- Controls: Dedicated exposure dials, focus modes and a viewfinder vs touch-only interfaces.
What bridge cameras do better than phones—for less
Even with clever computational tricks, phones struggle in scenarios that bridge cameras love. In particular, long reach, consistent control and ergonomic shooting make the difference when the light gets tricky or the subject is far away.
Optical zoom that widens your world
A 600–1200mm equivalent zoom lets you frame surfers beyond the break at Dee Why, isolate a distant yacht off Long Reef, or compress sea stacks on a moody morning. Optical zoom preserves detail and texture; digital zoom on phones often smears fine patterns like ripples and rock striations.
Stabilisation that saves your sunrise
Bridge cameras usually combine optical image stabilisation with a steady viewfinder brace. Consequently, you can handhold at slower shutter speeds—handy in pre-dawn blue hour at an ocean pool when tripods aren’t practical. Your keeper rate climbs, and your edit time drops.
Manual control that’s actually enjoyable
Big, labelled dials encourage fast exposure tweaks. For example, you can roll from 1/1000 sec for splash-freezing waves to 1/4 sec for silky water in a heartbeat, all while keeping your eye to the finder. Phones bury these shifts in menus, which slows you down and breaks the creative flow.
A viewfinder that beats glare
On bright coastal days, phone screens wash out. An electronic viewfinder cuts glare, shows exposure previews and protects your eyes from squint fatigue. You compose with intention rather than guessing through reflections.
Focus key advantages for travel photographers
Travel adds constraints: weight, weather, time and budget. Bridge cameras handle these smartly, letting you spend more on the trip and less on tech, while still bringing home pro-looking shots.
One camera, many looks
Because the lens covers wide to super-tele, you can tell a complete story: dawn wide shots of the pool, mid-zoom portraits of swimmers, and tight details of water beads on the rail. You don’t need a lens kit or a camera bag bursting with glass.
Weight and size that earn their keep
Most bridge cameras weigh 500–950g. That’s heavier than a phone but lighter than a DSLR with two lenses. It fits in a small sling, sits well on a lightweight travel tripod, and won’t punish you on a sunrise walk from the car to the headland.
Battery life that respects your itinerary
A single battery often lasts a sunrise session plus brunch. Add a spare and you’re covered for a full day’s coastal wander without hunting for a power point or rationing screen time.
Price tiers: which bridge camera suits your wallet?
Let’s match features to budgets so you buy once and smile every sunrise.
Entry-level value ($350–$550 AUD)
- Who for: Beginners, casual travellers, families.
- Expect: 24–600mm equiv zoom, decent stabilisation, JPEG-first workflow, basic EVF.
- Why it’s smart: Beats phones on reach and control at less than half the price of a flagship handset.
Mid-range sweet spot ($550–$900 AUD)
- Who for: Enthusiasts wanting better build, viewfinder quality and low-light performance.
- Expect: 24–1200mm equiv, RAW capture, better EVF, faster bursts, improved weather sealing.
- Why it’s smart: The cost-to-capability ratio shines here. It’s the goldilocks tier for travellers and coastal photographers.
Upper-mid with premium touches ($900–$1,300 AUD)
- Who for: Creators who demand strong 4K video, robust build, larger sensors in some models.
- Expect: Brighter lenses at the wide end, faster autofocus, advanced stabilisation, improved low-light files.
- Why it’s smart: Still under most pro camera kits, yet capable of client-ready results and serious creative growth.
Budget-savvy buying strategies
Stretch your dollars without sacrificing reliability. A few smart moves go a long way.
Buy refurbished or used—wisely
- Refurb direct or from reputable stores: Expect 10–30% off with a limited warranty.
- Used market tips: Check shutter count (if available), EVF clarity, zoom smoothness, and battery health. Ask for full-res sample images taken at the tele end.
- Cost comparison: A $800 mid-range bridge, refurbished at $600, leaves room for a spare battery, a card and a lightweight tripod.
Time your purchase
- Model cycles: When a new generation drops, the previous model often falls by $150–$300.
- Sales windows: End-of-financial-year deals and Boxing Day sales can trim 10–20%.
Accessories that matter (and those that don’t)
- Must-haves: Spare battery ($40–$80), 64–128GB UHS-I SD card ($20–$40), a simple wrist or sling strap ($15–$60), and a compact rain cover ($20–$35).
- Nice-to-haves: Travel tripod (aluminium, 1–1.5kg, $70–$180), circular polariser in your lens diameter ($30–$80).
- Skip for now: Expensive bags and plug-in mics if you shoot mainly stills; repurpose a small backpack with a padded insert ($25–$40).
Coastal photography on a shoestring
Bridge cameras excel along Sydney’s shoreline and the Northern Beaches. With a few practical routines, you’ll get rich images without spending much.
Free golden hours, priceless light
Sunrise and sunset cost nothing, yet deliver the best colour and texture. Arrive 30–45 minutes before first light to catch blue hour gradients over ocean pools. Use Aperture Priority at f/5.6–f/8, ISO 100–200, and dial in -0.3 to -1 EV to protect highlights on foamy waves.
Ocean pools and headlands: composition ideas
- Leading lines: Use pool chains and rails at 24–35mm equiv to guide the eye.
- Compression: At 200–400mm, layer headlands for a painterly haze on calm mornings.
- Action frames: At 1/1000 sec, catch a surfer’s cutback beyond the break. Burst mode with continuous AF helps lock moving subjects.
Settings cheatsheet for quick results
- Soft-water blur: Shutter Priority 1/4–1 sec, ISO 100, brace on a railing or use a mini tripod.
- Birds at dawn: Aperture Priority f/5.6, Auto ISO cap at 800, minimum shutter 1/1000 sec, continuous AF.
- Backlit silhouettes: Spot meter on the sky, -1 to -2 EV, white balance Cloudy for warmth.
Money-saving hacks while travelling with your camera
Photography adventures don’t have to drain your savings. Plan around free experiences and low-cost upgrades that give big visual returns.
Free activities with high photo yield
- Coastal walks: Many Sydney coastal tracks are free and photogenic year-round. Check safety and track info at NSW National Parks before you go: nationalparks.nsw.gov.au.
- Rockpool mornings: Early weekday swims mean fewer crowds, glassier water and clean reflections—no booking fees.
- Storm watching (from a safe distance): Dramatic skies after a cold front deliver texture and contrast. Shoot from elevated, fenced lookouts.
Affordable alternatives to pricier kit
- Tripod swap: Aluminium travel tripod ($90) vs carbon fibre ($400+). The weight trade-off is minor for short coastal walks.
- Filter frugality: One mid-grade circular polariser beats a drawer of niche filters. Rotate to tame glare on wet rocks and deepen skies.
- Rain cover hack: A $25 sleeve outperforms a beach towel in squalls, protecting your camera and keeping buttons accessible.
Local transport and timing tips
- Arrive before paid parking kicks in: Many coastal zones start meters after 8am; shoot sunrise, then move before the fees begin.
- Share rides for dawn missions: Split fuel and parking across two or three shooters for early sessions.
- Plan with tide and surf reports: Check Beachsafe for conditions and hazards before you commit: beachsafe.org.au.
Bridge cameras in the age of mobile photography
So why are bridge cameras still underrated? In short, marketing dollars favour phones, and “good enough” convenience wins many days. However, for photographers who crave reach, control and consistent results, bridge cameras quietly outperform without premium pricing.
Computational vs optical: know the trade-offs
Phones excel at instant HDR, portrait blur and night stacking for social media. Yet optical zoom beats algorithmic crop for distant detail. Consequently, textures—salt spray, rock pores, fine feathers—survive better in a bridge camera file, especially past 200mm.
Creative growth without the gear spiral
Bridge cameras steer you toward composition, timing and light because you’re not distracted by lens shopping. You learn exposure and fieldcraft with one tool, then carry that skill anywhere.
Battery independence equals more moments
When your camera doesn’t need to be your maps, your music and your messages, you shoot what you planned instead of managing battery anxiety. That separation alone saves missed frames at peak light.
A coastal field plan for your next sunrise
Use this step-by-step plan to make the most of your bridge camera, even on your first outing.
Night before
- Charge two batteries; clear and format your SD card in-camera.
- Pack: camera, strap, spare battery, SD card, microfibre cloth, polariser, compact rain cover, light jacket, water.
- Check sunrise time, tide and wind. Prioritise safety if swell is high.
On location (30–45 minutes before dawn)
- Scout foregrounds: pool edges, chains, steps, rock textures, or a dune path.
- Start wide: 24–35mm equiv at f/5.6–f/8, ISO 100–200, -0.3 EV. Compose with leading lines and clean horizons.
- As light grows, zoom for details: 200–400mm on glints, spray and silhouettes against the sky.
After sunrise peak
- Switch to shutter priority: 1/250–1/500 sec for moving water with texture.
- Try a polariser: rotate until glare softens and colours gain depth. Avoid over-polarising the sky at very wide angles.
- Shoot a mini-series: wide establishing frame, medium action shot, tight detail. This sequence tells a fuller story when you share.
Editing on a budget: big returns for small spends
You don’t need expensive software to polish your images. Thoughtful edits elevate files from any camera, especially when you start with clean exposures.
Free and low-cost editors
- Desktop: Darktable and RawTherapee are free and powerful for RAW workflow.
- Mobile/tablet: Snapseed is free; Lightroom Mobile has a generous free tier with curves and selective edits.
- One-off purchase: Affinity Photo often goes on sale under $120, no subscription needed.
Simple edit recipe for coastal colour
- White balance: warm slightly for sunrise; cool slightly for blue hour.
- Exposure: lift shadows gently; protect highlights to keep wave detail.
- Local contrast: small clarity bump for rocks; avoid halos along horizons.
- Colour: reduce saturation before increasing vibrance for natural tones.
- Crop: straighten the horizon first; then apply the rule of thirds or leading-line flow.
Safety, weather and respectful shooting
Great images matter, but so does coming home safely and leaving places as you found them.
Coastal safety basics
- Never turn your back on the ocean near rock platforms. Watch a full set of waves before stepping closer.
- Wear shoes with grip when walking wet surfaces; algae can be slick.
- Mind your bag away from splash zones and keep electronics sealed in a dry pouch.
Weather smarts save money
- Carry a compact rain cover and a zip-lock for your phone and wallet; they cost little and protect a lot.
- Windy mornings: use your body as a windbreak and shoot from a sheltered angle; raise ISO to maintain shutter speed.
Respect people and wildlife
- Ask before photographing identifiable swimmers up close.
- Use your long zoom rather than approaching birds or sea life; keep a considerate distance.
- Stay behind barriers at pools and cliff edges to avoid damage and fines.
Bridge cameras: underrated in practice, not just on paper
On a typical coastal morning, you’ll notice the difference. You frame surfers beyond the break without pixel mush. You meter quickly against bright water reflections. You conserve your phone battery for navigation and breakfast plans. The end result is a gallery with variety and polish, captured with a single, affordable tool.
Real-world cost comparison
- Option A: Premium phone for the camera: $1,600. Add case and care plan: +$200. Total: ~$1,800.
- Option B: Mid-range bridge camera: $700. Spare battery, card, polariser: +$140. Used aluminium tripod: +$90. Total: ~$930.
Option B saves ~$870—enough for multiple sunrise drives, parking, and a few celebratory post-shoot coffees.
Smart travel logistics with your gear
Early starts and coastal hop-scotching are easier with a plan. Pack light, charge everything, and know where you’ll park before dawn. Keep a microfibre cloth in your pocket; sea spray is relentless.
Using a Zipli car for dawn shoots
If you don’t own a car, a Zipli car share makes sunrise missions simple. You can book an early timeslot near your place, stash your bridge camera, mini tripod and a thermos, and roll out before public transport stirs. Moreover, you’ll have space to keep your gear dry and secure between locations while you check the next tide window.
Free coastal photo mini-itineraries
These low-cost plans maximise light and variety without long drives or fees. Adjust to your nearest coastline and conditions on the day.
Short sunrise sprint (90 minutes, $0–$10)
- Arrive 45 minutes pre-dawn. Start wide compositions of pool geometry.
- Switch to 200–400mm for wave crests catching first light.
- Finish with detail shots: chains, wet steps, reflections. Coffee is optional, parking may be free pre-8am.
Two-stop golden window (2.5 hours, $5–$20)
- Stop 1: Headland silhouettes at blue hour. Telephoto layers of coast against the sky.
- Stop 2: Ocean pool action as swimmers arrive. Use burst mode and 1/1000 sec for splashes.
- Grab a bakery breakfast; still cheaper than a new lens you don’t need.
Storm-light study (variable, $0)
- Shoot from fenced lookouts after a front moves through.
- Work monochrome JPEG profiles in-camera for dramatic clouds.
- Keep clear of rock ledges during large swell. Safety first, always.
Maintenance that protects your investment
Look after your bridge camera and it’ll serve for years, keeping your budget on track.
Simple care routine
- Wipe salt mist after every coastal session with a slightly damp cloth, then dry.
- Store with silica gel packs to reduce moisture build-up.
- Update firmware when available; it often improves autofocus and stability.
When to upgrade (and when not to)
- Upgrade if you consistently hit limits: autofocus misses birds, EVF is dim, or high ISO files block up.
- Don’t upgrade for spec-sheet inches. If your images improved last month, the camera is not your bottleneck yet.
Frequently asked budget questions
Do bridge cameras handle night scenes as well as phones?
Phones stack exposures well for static scenes, but bridge cameras give cleaner files when you stabilise the shot. Use a mini tripod, ISO 100–400, and longer shutters. For moving water or people, a bridge wins on control.
Is 1200mm equivalent really usable?
Yes, with technique. Brace your elbows, use higher shutter speeds (1/1000 sec+), and let stabilisation work. You’ll capture distant surfers, birds and headland details with far more detail than phone crops.
What about printing?
Bridge cameras produce solid A4–A3 prints from well-exposed files. For larger prints, careful shooting at base ISO helps, and many mid-range models offer RAW for extra latitude when editing.
Trusted Australian resources for planning
Before you head out, confirm access, conditions and safety. These Australian sources are up to date and reliable:
- Weather and marine forecasts: Bureau of Meteorology Marine
- Coastal safety, rips and surf conditions: Beachsafe
- Parks access, track updates and closures: NSW National Parks
Wrapping Up
In an age where phones feel compulsory for photography, bridge cameras remain a versatile, budget-friendly alternative that’s hiding in plain sight. They deliver optical reach, stable handling and practical controls that help you nail the shot, especially along Australia’s bright, blustery coasts. Crucially, they do it for hundreds less than a flagship phone upgrade.
If you’re planning sunrise walks, ocean pool studies or headland layers, a single bridge camera can tell the whole story—wide to tele—without lens swaps or wallet strain. Pair it with smart timing, free coastal activities and a few frugal accessories and you’ll have a reliable, creative kit ready for any morning you can muster.
Need a simple way to get to those pre-dawn vantage points with your gear snug and dry? Book a Zipli car, toss your bridge camera and a light tripod in the boot, and enjoy the freedom to chase the tide, the light and the moment—without breaking the bank.

Chris Evans
Photography & Coastal Stories Writer
Photography guides and visual stories inspired by Australia’s coastline.
 ELECTRIC
 ELECTRIC
 ECO HATCH
 ECO HATCH
 LUXURY
Save on Your Next Rental!
Premium car sharing on Sydney’s Northern Beaches

Leave a Reply