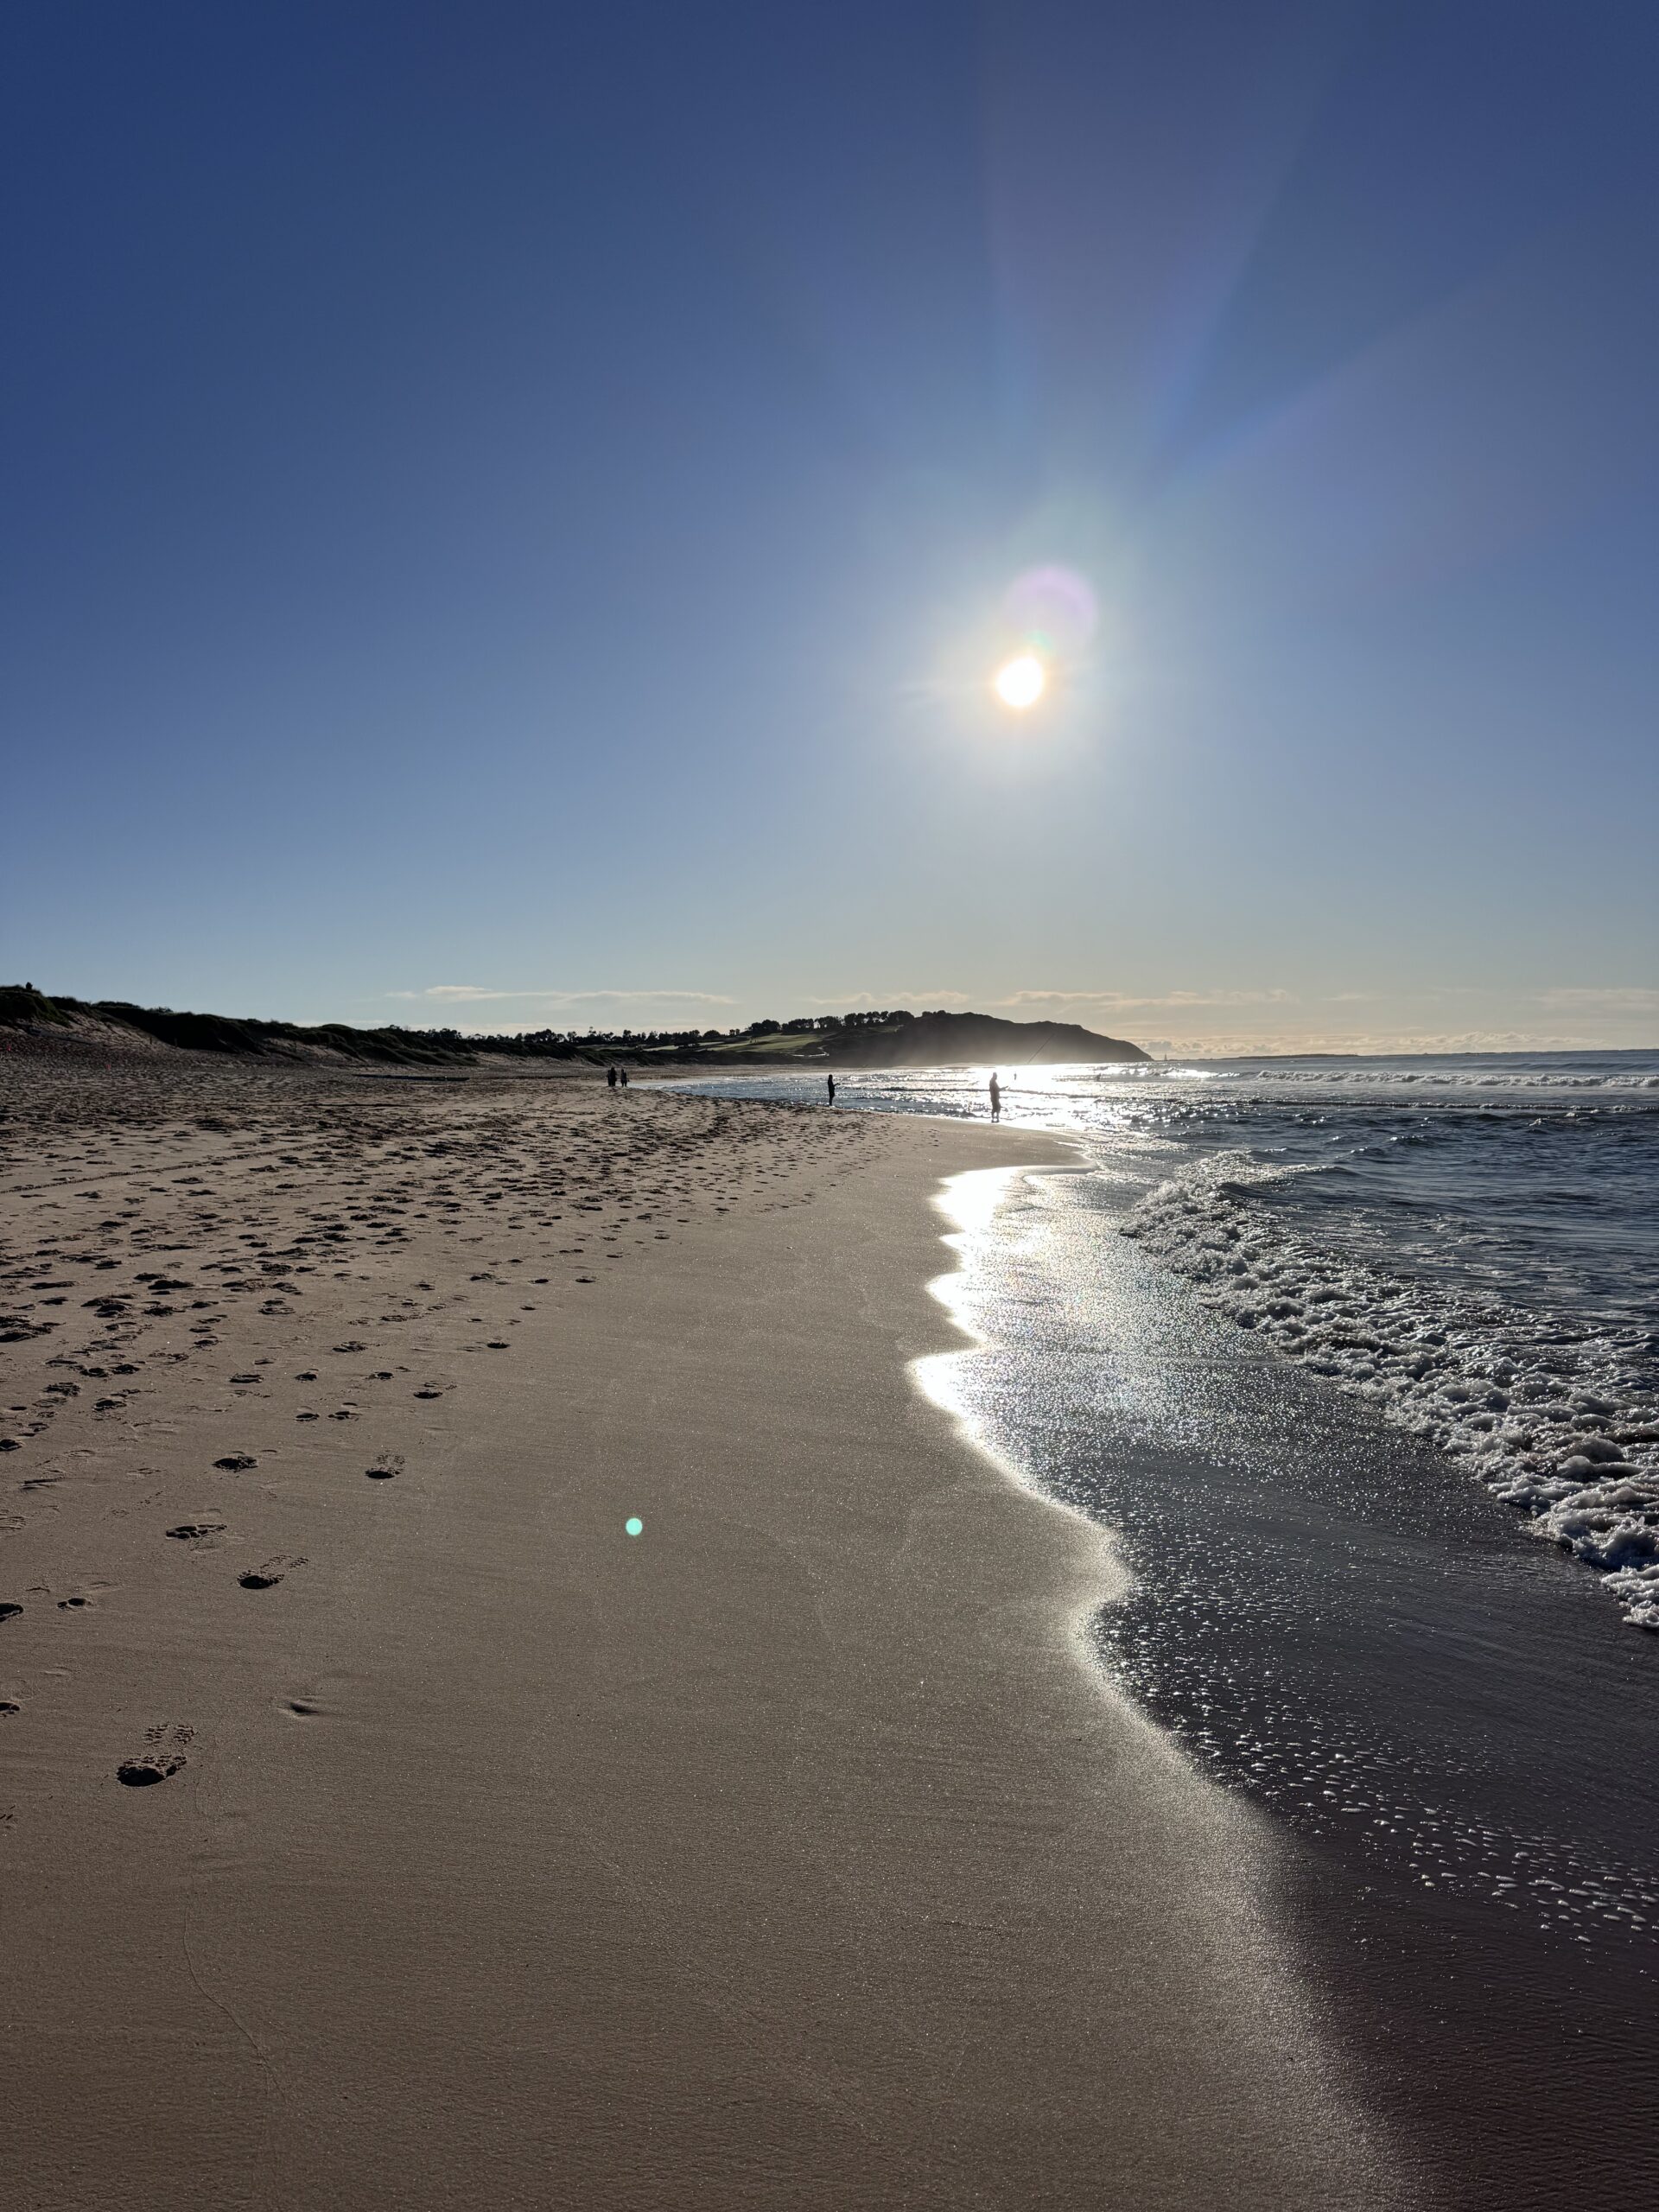
If you’ve ever stood on a Sydney headland at first light and felt the horizon breathe, you’ve brushed against the magic of the panoramic photography aspect ratio. This guide shows you how to harness that ratio with intent, so your frames don’t just get wider — they tell better stories. We’ll pair real-world field craft from Australian coastlines with clear settings, composition tactics and editing workflows that elevate your panoramic vision.
Why the panoramic photography aspect ratio is your strongest storytelling lever
Aspect ratio isn’t a technical footnote. It’s the heartbeat of your image’s narrative. In panoramas, it dictates how viewers travel from entry point to payoff, and how tension builds across negative space. On the New South Wales coast, where skies stretch and ocean texture shifts by the second, choosing 2:1 over 3:1 can change everything — from how surf lines guide the eye to how a lone walker reads as a protagonist rather than a speck.
The psychology of width
Wider ratios mimic peripheral vision. Consequently, viewers relax and scan. Use that to control pace. A 3:1 ratio suits broad, meditative seascapes; 16:9 suits action-forward moments like a wave pitching against the Bogey Hole wall in Newcastle. Importantly, the narrower the vertical height, the more every horizon deviation and fore‑mid‑back separation matters.
Choosing your working ratios: 16:9, 2:1, 3:1 and beyond
Before you press the shutter, pick a storytelling intent, then a ratio that backs it. The panoramic photography aspect ratio isn’t one-size-fits-all; discipline here saves hours in post.
16:9 — dynamic and practical
- Use when: You want motion or cloud drama to read large without losing vertical interest.
- Field note: Works beautifully on Sydney’s Northern Beaches when low clouds race at sunrise.
- Capture tip: Shoot with 20–30% extra height to allow gentle horizon levelling.
2:1 — the classic panorama
- Use when: You want balance between spaciousness and manageable composition.
- Field note: Ideal for ocean pools where leading lines run parallel to the horizon.
- Capture tip: Plan a dominant mid‑frame anchor — rock shelf, pool chain posts, or a headland silhouette.
3:1 — cinematic sweep
- Use when: You aim for an expansive “breath” — layered coastlines, distant headlands and open sky.
- Field note: Best on calm days with structured clouds or glassy seas that won’t turn detail to mush.
- Capture tip: Think of the frame in thirds horizontally: invitation, escalation, resolution.
Unconventional crops — 5:2, 7:3
Occasionally the scene dictates something in‑between. When chop breaks the horizon rhythm, a 5:2 crop can keep enough sky to breathe while compressing the dead space. Judge with intent, not habit.
Field setup: stability and precision for razor‑clean stitches
Great panoramas start before dawn with a disciplined setup. The Australian coast rewards preparation; it punishes complacency with spray and shifting wind.
Tripod and head
- Tripod: A stable carbon fibre tripod with spiked feet grips sandstone shelves better than rubber feet on wet algae.
- Head: A panoramic clamp or nodal rail helps eliminate parallax when foreground rocks sit close. If you shoot handheld, keep elbows tucked and rotate at your torso, not your feet.
Levelling matters
Level the tripod first using leg length, not the head. Then set the head level. A small bubble level or an in‑camera level saves headaches. If your base isn’t level, the stitch will “smile” or “frown,” wasting pixels in the crop.
Exposure lock and overlap
- Manual exposure: Meter the brightest significant highlight (often where the sun will bloom), then lock settings.
- Overlap: 30–40% between frames is safer near surf spray or moving subjects. Consistency beats speed.
Camera and smartphone settings that work on Australia’s coast
Salty air, variable light and bright sand call for measured settings. Here’s a reliable baseline to adapt.
DSLR/Mirrorless baseline
- Mode: Manual exposure, manual focus.
- Aperture: f/8–f/11 for edge‑to‑edge sharpness without diffraction softening.
- Shutter: 1/125–1/500 for handheld; slower if on tripod and you want soft water (use a 3–6 stop ND).
- ISO: 64–200; keep it low to retain highlight latitude in pink dawn skies.
- White balance: Daylight or 5600–6000K; consistency simplifies stitching and colour grading.
- Focus: Prefocus one‑third into the scene, then switch to manual focus to lock.
Smartphone setup
- Use a manual app: Lock exposure and WB. The native pano mode is fine, but manual apps prevent exposure stepping.
- Gridlines: Enable a 3×3 grid; keep the horizon on a third and centre the sweep on your waist to rotate smoothly.
- RAW capture: If available, shoot DNG in a burst series for a manual stitch instead of a single in‑camera pano.
Composition frameworks tailored to wide frames
In a wide canvas, weak composition shows quickly. Train your eye to think in arcs and anchors, not just lines.
The anchor and the arc
Identify one anchor (e.g., a rock pool corner, a lone fisherman, a tidal gutter) that introduces the story. Then build an arc — a path the viewer follows through texture changes, headlands, then sky. The panoramic photography aspect ratio amplifies this journey when the anchor is left or right of centre, not dead middle.
Horizon discipline
Horizon height sets the mood. Low horizon elevates cloud drama; high horizon brings detail to foreground rock. In ocean pools, aim to keep pool edges subtly diagonal. That diagonal, when echoed by cloud streaks, creates rhythm.
Layering for depth
- Foreground: Wet sandstone with ripples, chain posts, or foam patterns.
- Midground: Pool lanes, surfers, headland outlines.
- Background: Distant cliffs, rain curtains, or a muted skyline.
Ensure each layer has a tonal step — light, mid, dark — so the viewer climbs through the scene rather than falling off it.
Timing the sea
Shoot sets, not singles. Fire a sequence each time a wave wraps a rock shelf to capture repeating geometry. Moreover, begin your sweep just before the best wave hits your anchor so the action resolves toward the frame’s end.
Aspect ratio as an editing decision: planning your crop borders
Even when you previsualise, cropping after stitching refines intent. Set ratio constraints early in post so your colour and local contrast work supports the shape you’ll keep.
Post workflow that respects ratio
- Ingest and evaluate: Flag the cleanest sequence with stable exposure and similar wave stages.
- Lens corrections: Apply profile corrections first to standardise geometry.
- Stitch: Use cylindrical for 2:1 and 3:1 with minimal warp; perspective can help with strong rectilinear pools.
- Set crop: Lock 2:1 or 3:1 before tonal edits. This avoids “fixing” tones you’ll later cut away.
- Tonal map: Preserve a gentle highlight roll‑off where dawn colour sits. Use selective masks to keep midtone contrast in the anchor.
Local adjustments for panoramic flow
- Dodge trails: Brighten the visual pathway by 0.25–0.4 EV along foam lines and pool edges.
- Vignette wisely: Use a wide, rectangular vignette aligned with the frame to keep corners honest without dark “ears.”
- Colour temperature: Slightly cooler in the far side of the frame can increase depth if sunrise warmth dominates near the anchor.
Dealing with movement: surf, clouds and people
Movement is the enemy of sloppy stitches and the ally of compelling stories. Embrace it with strategy.
Wave choreography
- Sequence planning: Start your sweep on the receding foam to the left; finish where the new set peaks to the right. The narrative then travels from calm to energy.
- Shutter control: 1/8–1/2 sec on a tripod paints a silk line that links frames. Use a 3‑stop ND at sunrise to keep highlights intact.
Cloud sync
Fast-moving cloud banks can stitch cleanly if your overlap is generous. Additionally, shorten your sweep time: fewer frames with more overlap beats dozens of thin slices when the sky is racing.
People as scale
Include a walker on the promenade or a swimmer pausing by the pool ladder for scale. Time them to sit within a third, not mid‑join between frames, reducing ghosting risk and strengthening composition.
Lens choices and when to pivot to vertical panos
Lens choice shapes distortion, edge sharpness and how the sea’s texture reads. Pick for story, not convenience.
24–35mm primes
- Why: Natural perspective, minimal distortion, sharp edges at f/8–f/11.
- Use case: Classic 2:1 sunrise across an ocean pool with defined foreground texture.
70–100mm tele‑panos
- Why: Compress headlands and stack atmospheric layers at distance.
- Use case: 3:1 of overlapping cliffs with winter haze glowing, where the sea becomes a tonal plane.
Vertical panos (multi‑row)
When the sky performs — mammatus, virga, or towering cumulus — flip to vertical frames and shoot a multi‑row panorama for a 2:1 or 16:9 result with huge resolution and richer top‑bottom storytelling.
Pre‑dawn planning: tides, swell and sun angle
Coastal success depends on reading conditions. Arrive with a plan, adapt with instinct.
Tide and swell checks
- Tides: Low to mid tide exposes rock textures and safe footing. High tide can isolate pool edges but risks spray on lenses.
- Swell direction: South swells wrap differently around headlands than nor’easters. Position your anchor accordingly.
- Resources: Use the Bureau of Meteorology marine forecasts for wind, swell and tide observations: bom.gov.au/marine.
Sun path and seasonal colour
In winter, the sun rises further north along the NSW coast, skimming across headlands for longer side‑light — perfect for 3:1 depth. In summer, rapid transitions demand faster setup and bracketing discipline.
Safety, access and responsible coastal shooting
Beauty comes with risk. Saltwater, slippery algae and rogue waves can end a shoot quickly. Respect the ocean and the locals who use these spaces daily.
Footing and gear care
- Wear rock fishing boots or trail shoes with real bite; avoid smooth soles on green rock.
- Keep a microfibre cloth and a blower handy; salt spray ruins stitches through contrast loss.
- Rinse tripod legs in fresh water after each session to prevent corrosion.
Wildlife and etiquette
- Give seabirds and walkers space; avoid blocking pool lanes at dawn when squads are training.
- Keep lights dim near turtle nesting zones in northern regions; protect night vision for stargazers and swimmers.
Local knowledge
Check council updates for coastal access, pool cleaning schedules and safety alerts. For Sydney and NSW updates, see nsw.gov.au. For beach safety and surf conditions, refer to beachsafe.org.au before heading out.
From capture to print: maintaining integrity across the workflow
Panoramas shine large. Plan from field to wall so your ratios translate to paper without compromise.
Resolution targets
- Web: 4000–6000 px on the long side is ample for 2:1; sharpen lightly for screen.
- Print: For a 120 cm wide 2:1 at 180–240 ppi, aim for 8500–11,500 px on the long side. Multi‑row panos excel here.
Soft proofing
Soft‑proof to your paper profile and trim margins to preserve the chosen panoramic photography aspect ratio. Don’t let a lab “fit to page” compromise your story shape.
Framing choices
Floating frames or thin black frames emphasise linear grace. Avoid heavy mats that crowd the vertical height in 3:1 prints.
Unexpected insights the pros use on the coast
Small habits compound into elite results. Adopt these and your keeper rate rises fast.
Pre‑focus on shine, not detail
On dark rock at dawn, use a headtorch reflection to pre‑focus where you want the plane — the shiny patch gives high‑contrast edges that lock focus quickly.
Spray pattern scouting
Watch how spray drifts for two set cycles before unpacking. If it blows toward you, choose a slightly higher viewpoint to keep droplets off the mid‑elements, even if it compresses the foreground.
Bracket with intent, not fear
Two exposures two stops apart are usually enough at sunrise when you pre‑meter highlights. Excessive bracketing bloats cards and complicates stitches with moving water.
Shadow map your sweep
Note where your tripod shadow might enter the frame as you rotate. Shift half a step back or reduce column height to keep it from creeping into the crucial mid‑frames.
Case study: building a 2:1 dawn panorama on a rock pool
Let’s walk a concise, real‑world sequence you can adapt to many coastal pools and headlands.
Plan
- Check BOM for light offshore winds and 1–2 m swell from the south.
- Arrive 40 minutes pre‑sunrise; scout an anchor — the pool’s corner chain post.
- Decide on 2:1 to keep sky character without losing rock texture.
Capture
- Set tripod with spikes; level the base and head.
- 24–35mm, f/9, 1/4 sec with a 3‑stop ND, ISO 100.
- Manual focus one third in; lock exposure; shoot eight frames with 35% overlap as a set wave rounds the corner.
Edit
- Apply lens corrections; stitch cylindrical; lock 2:1 crop.
- Local dodge along the foam S‑curve; gentle sky dehaze; warm the far cloud band by +300K for balance.
- Output at 9000 px long side for a metre‑wide print.
Using Zipli car share to unlock better coastal panos
Early starts make or break coastal panoramas, and carrying a tripod, nodal rail, filters and a backup body on public transport is tough at 4 am. With Zipli, you can book a nearby car the night before, load your gear safely, and roll straight to your headland or ocean pool with time to scout and level up. Moreover, you can chase changing light up or down the coast without juggling timetables — a real edge when clouds fire unexpectedly.
Troubleshooting: fixing the five most common panoramic issues
Even pros hit snags. Here’s how to correct them fast.
1) Bowed horizon after stitch
- Cause: Unlevel base or aggressive projection.
- Fix: Re‑stitch with cylindrical; straighten with guided transform; crop to a slightly taller 2:1 if needed.
2) Ghosted waves or people
- Cause: Objects moving between frames.
- Fix: Use the “select best frame” option where available; or mask in a single frame over the seam in your editor.
3) Exposure stepping across frames
- Cause: Auto exposure shifts.
- Fix: Shoot manual; if already captured, even out with synced exposure and gradient masks before stitching.
4) Parallax near close foreground
- Cause: Rotating around tripod head, not the entrance pupil.
- Fix: Use a nodal rail; step back or raise viewpoint to increase subject distance.
5) Mushy detail at the edges
- Cause: Wide lens distortion or diffraction.
- Fix: Stop down to f/8–f/11; avoid ultrawides for stitched panos; apply selective sharpening on edge textures.
Checklist: a repeatable coastal pano routine
- Decide your panoramic photography aspect ratio first: 16:9, 2:1 or 3:1.
- Check BOM marine weather, tide and swell; confirm safe access on Beachsafe.
- Pack: tripod with spikes, nodal rail, ND filters, cloths, spare battery, lens hood.
- Arrive 40 minutes before sunrise; scout anchor and arc; level base and head.
- Manual exposure and focus; 30–40% overlap; shoot sets timed to wave rhythm.
- Stitch with appropriate projection; lock crop; then apply tonal and local edits.
- Export at target resolution; soft‑proof for print; frame to suit ratio.
Advanced creative exercises to sharpen your panoramic eye
Skill grows through constraint. Try these to strengthen your timing, layering and ratio instincts.
Exercise 1: One anchor, three ratios
Photograph the same scene for 16:9, 2:1 and 3:1. Change your footing and lens to suit each. Compare how the story’s pace and emphasis shift.
Exercise 2: Tele‑stack the coast
At 85–100mm, build a 3:1 pano of stacked headlands. Focus on tonal separation and atmosphere rather than foreground detail.
Exercise 3: Wave‑sync sweep
Practice starting your sweep three seconds before the set peaks at your anchor. Aim for a single continuous gesture that feels musical.
Exercise 4: Multi‑row dawn sky
Shoot vertical frames in two rows to capture textured clouds and reflective rock. Crop to 2:1 and study how the taller capture grants freedom to refine your horizon placement.
Editing colour with coastal honesty
Australian dawn colour can be subtle one day and electric the next. Aim for believable saturation that respects the scene while guiding the eye.
Hue integrity
- Keep cyans clean in the mid‑sea; avoid shifting them toward cartoon blues.
- Let warm magentas ride the cloud base but protect highlights with gentle roll‑off.
Contrast shaping
Midtone contrast in rock and foam governs perceived sharpness. Meanwhile, lower contrast in distant headlands increases depth. Use curves layers that taper contrast with distance.
Printing and sharing: telling the story beyond the screen
Consider the final context when choosing your panoramic photography aspect ratio. A 3:1 shines in a long hallway or above a sofa; 2:1 carries better on most websites and printed spreads. Export multiple crops only if each serves a distinct story — not to hedge bets.
Final Thoughts
Mastering the panoramic photography aspect ratio turns wide views into purposeful narratives. From Sydney’s ocean pools to windswept headlands, your choices about width, anchor, timing and local contrast shape how viewers feel the sea’s pull. Plan with tides and sun, compose with an anchor and arc, and edit to honour the ratio you chose at dawn. With a Zipli car booked the night before, you’ll arrive calm, geared and ready to make frames that breathe — and that’s the difference between a long photo and a lasting one.

Chris Evans
Photography & Coastal Stories Writer
Photography guides and visual stories inspired by Australia’s coastline.
 ELECTRIC
 ELECTRIC
 ECO HATCH
 ECO HATCH
 LUXURY
Save on Your Next Rental!
Premium car sharing on Sydney’s Northern Beaches

Leave a Reply